
Table of Contents
Have you ever wondered why some baked goods seem to have that magical ability to rise beautifully while others stay flat and uninviting? What’s the secret behind those fluffy breads and cakes that make our mouths water? If you’re ready to unlock the mystery of rising recipes, then you’re in the right place! Today, we’ll explore how to ensure your dough rises every single time, no matter if you’re a seasoned baker or just starting out. Are you prepared to transform your kitchen into a bakery where success is guaranteed?
overview of the best rising recipes
Rising recipes rely on a delicate balance of ingredients and technique to create light, airy textures. Whether using self-rising flour for quick breads or allowing dough multiple rises for artisanal loaves, mastering these methods takes practice.
Sources like Healthy Green Kitchen and Loafy Bread highlight key factors such as yeast activation and dough temperature control. Most rising recipes take one to several hours, but much of that time is just waiting. Simpler recipes use self-rising flour, while more complex ones involve yeast fermentation.
Try these recommendations. Here are some recipes:
- Banana Bread Recipe with Cake Mix
- Mary Berry Soda Bread Recipe
- Braided Chocolate Chip Brioche Recipe
- The Best Millie’s Cookies Recipe
Essential Ingredients for Perfect Rising Recipes
To achieve perfect results every time, it’s crucial to understand the role each ingredient plays:
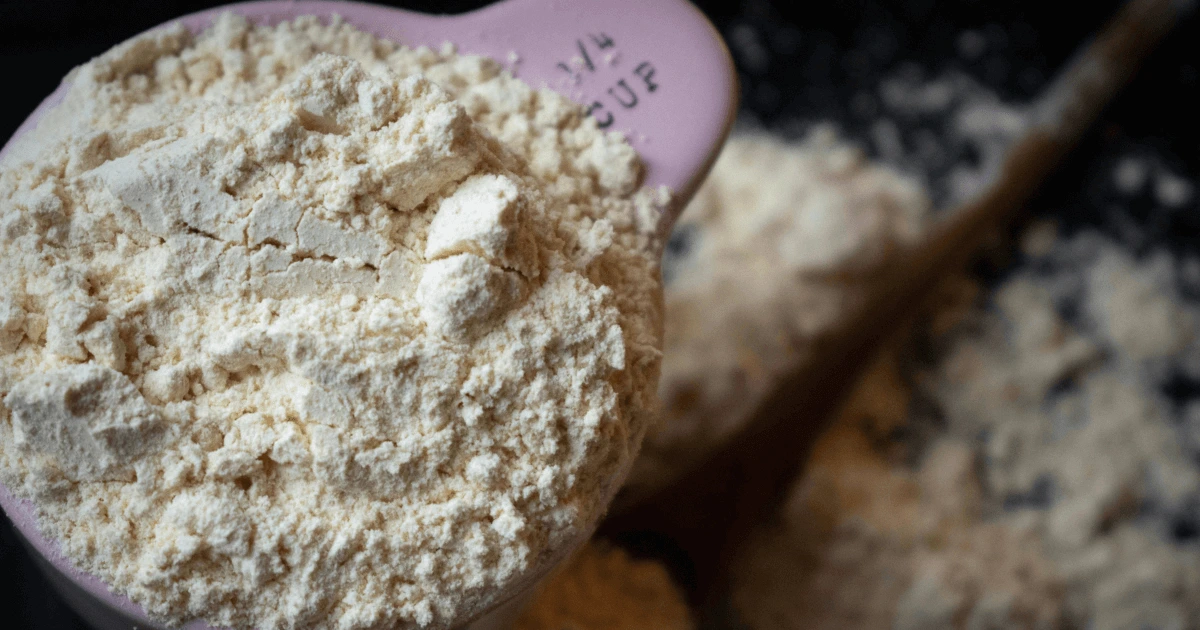
- All-Purpose Flour : Forms the structure of your baked goods. For self-rising flour, combine 1 cup all-purpose flour with 1.5 teaspoons baking powder and 1/4 teaspoon salt 4.
- Baking Powder/Soda : Acts as a leavening agent helping dough rise by producing carbon dioxide gas when mixed with liquid and heat.
- Yeast : A living organism that feeds on sugars present in dough, releasing gases which cause expansion during proofing stages.
- Liquid (Water/Milk) : Activates both yeast and chemical leaveners while adding moisture necessary for proper texture development.
- Sugar : Feeds yeast promoting better fermentation though not always essential especially in savory items.
- Salt : Enhances flavor and controls yeast activity ensuring even rising without over-proofing.
Substitutions exist for most ingredients such as using almond meal instead of wheat flour for gluten-free options or apple cider vinegar plus baking soda as an alternative to buttermilk in certain cases.
How to Make Rising Recipes: Step-by-Step Instructions
Let’s dive into creating a basic bread loaf using traditional yeast-based rising techniques:
Ingredients:
- 3 cups all-purpose flour
- 1 packet (or 2 1/4 teaspoons) active dry yeast
- 1 tablespoon sugar
- 1 teaspoon salt
- 1 cup warm water (about 110°F)
- 2 tablespoons olive oil
Directions:
- Activate Yeast : In a small bowl, dissolve yeast in warm water along with sugar. Let sit for about five minutes until frothy indicating yeast is alive.
- Mix Dry Ingredients : Combine flour and salt in a large mixing bowl.
- Combine Wet & Dry Mixtures : Add activated yeast mixture and olive oil to dry ingredients. Stir until shaggy dough forms.
- Knead Dough : Turn dough out onto lightly floured surface and knead for approximately eight minutes until smooth and elastic.
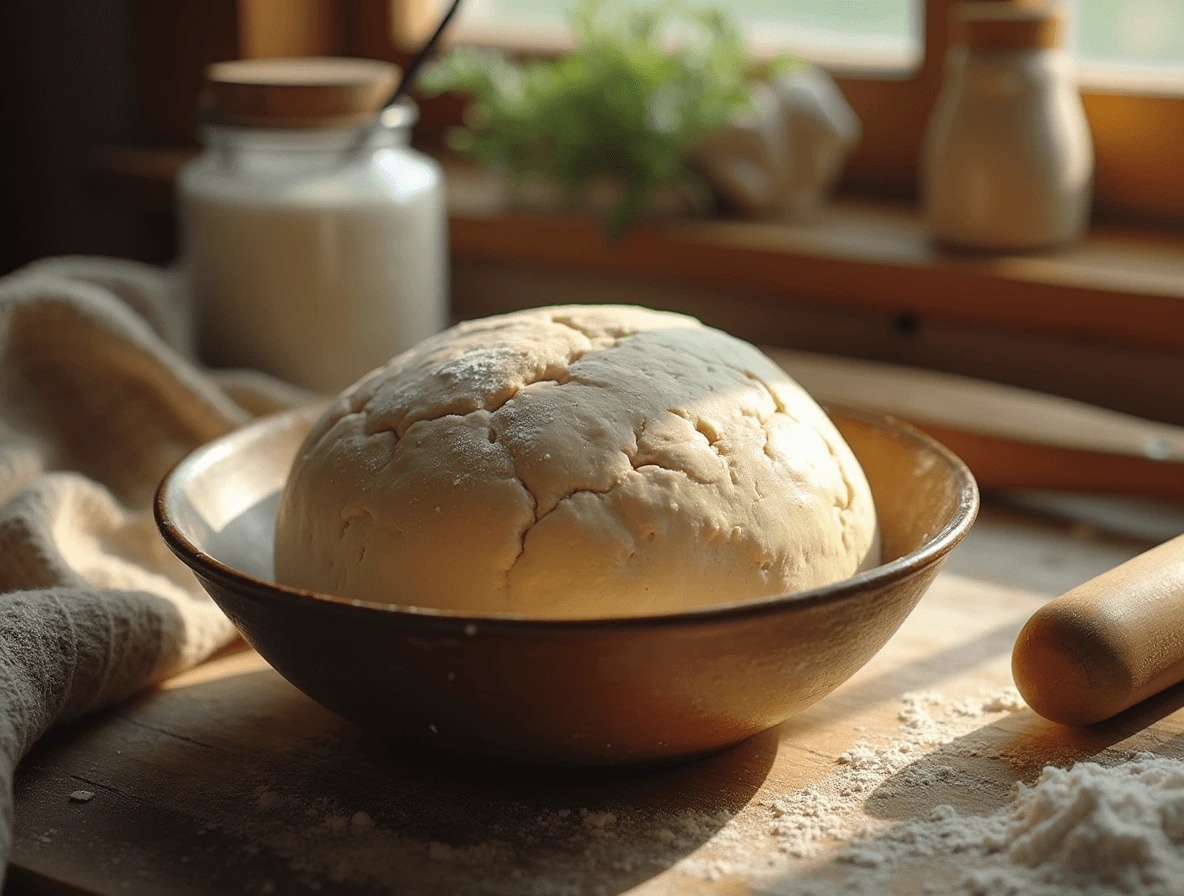
- First Rise : Place dough in greased bowl covered with damp cloth. Allow to rise in warm draft-free area for about an hour or until doubled in size.
- Shape Loaf : Punch down risen dough and shape into desired form before placing in prepared pan.
- Second Rise : Cover shaped loaf again allowing another hour for secondary rise.
- Bake : Preheat oven to 375°F and bake for 30-35 minutes until golden brown and sounds hollow when tapped underneath.
Tips include ensuring correct temperature for liquids since too hot will kill yeast, whereas too cold won’t activate properly. Rising recipes also benefit from providing ideal conditions for rising, such as warmth and humidity, which can significantly impact the outcome positively.
Assembly: Rising Recipe
Once your dough has completed its final rise, carefully transfer it to a preheated baking sheet or loaf tin. Rising recipes benefit from scoring the top with a sharp knife or razor blade to allow for controlled expansion during baking. Consider brushing the surface with egg wash for added shine or sprinkling seeds for extra crunch and visual appeal. Remember, presentation matters—it’s the first thing people notice before taking their first bite!
Storage and Make-Ahead Tips
After baking, allow your bread to cool completely before storing it in an airtight container at room temperature for up to three days. For longer storage, freeze slices individually wrapped in plastic wrap followed by freezer bags. To reheat, simply toast frozen slices directly or warm them gently in the oven wrapped in foil.
Recipe Variations
Feel free to experiment with different types of flour like whole grain or rye, incorporate nuts, dried fruits, herbs, or spices according to preference. Try reducing sugar content for less sweet versions suitable for sandwiches or soups. Alternatively, increase richness by substituting part of the water with milk or cream.
Conclusion
Now that you know the secrets behind successful rising recipes, there’s nothing stopping you from experimenting in your own kitchen. Don’t be afraid to try new things and enjoy the process—after all, baking should be fun! With practice, you’ll develop intuition about what works best for various recipes leading to consistent delicious outcomes.
FAQs
Q: Can I speed up the rising process? A: Yes, increasing ambient temperature within safe limits can hasten rising though doing so might affect flavor negatively due to reduced fermentation period. Using instant yeast also cuts down on initial activation step saving time.
Q: Is homemade self-rising flour healthier than store-bought? A: Homemade versions give you control over ingredient quality and quantities potentially making them preferable nutritionally speaking especially avoiding additives found commercially sometimes.
Q: How long can I keep unbaked dough refrigerated? A: Overnight usually works well giving additional slow fermentation benefits enhancing taste. Beyond this, freezing becomes advisable unless specific instructions state otherwise regarding particular recipes.
This comprehensive guide aims to demystify the art of making dough rise consistently offering practical advice alongside encouragement towards personal exploration within culinary arts centered around rising recipes.nd rising recipes.