Table of Contents
Introduction about Barbie Cake
Have you ever wondered how a simple cake can transform into an enchanting masterpiece that captures the hearts of kids and adults alike? Imagine serving a cake at your little one’s birthday party that looks like it was designed by a professional baker. Well, guess what? With just a few creative ideas and some basic baking skills, you can create stunning Barbie cakes right in your own kitchen! Let’s dive into five exciting designs that will leave everyone speechless.
Overview about Barbie Cake
Making a Barbie cake is not only fun but also incredibly rewarding. Whether you’re hosting a themed birthday party or simply want to surprise someone special, these cakes are sure to impress. This guide will walk you through creating five unique Barbie-inspired designs with varying levels of difficulty. Each design takes about 4-6 hours from start to finish, including preparation, baking, and decorating. Don’t worry if you’re new to baking—these recipes are beginner-friendly, and we’ll provide plenty of tips along the way!
Why These Barbie Cake Designs Are Special
- Vibrant colors inspired by Barbie’s iconic style.
- Versatile designs suitable for any occasion.
- Easy-to-follow steps even for novice bakers.
- Perfect for making memories with family and friends.
Barbie Cake: Essential Ingredients for Stunning Designs
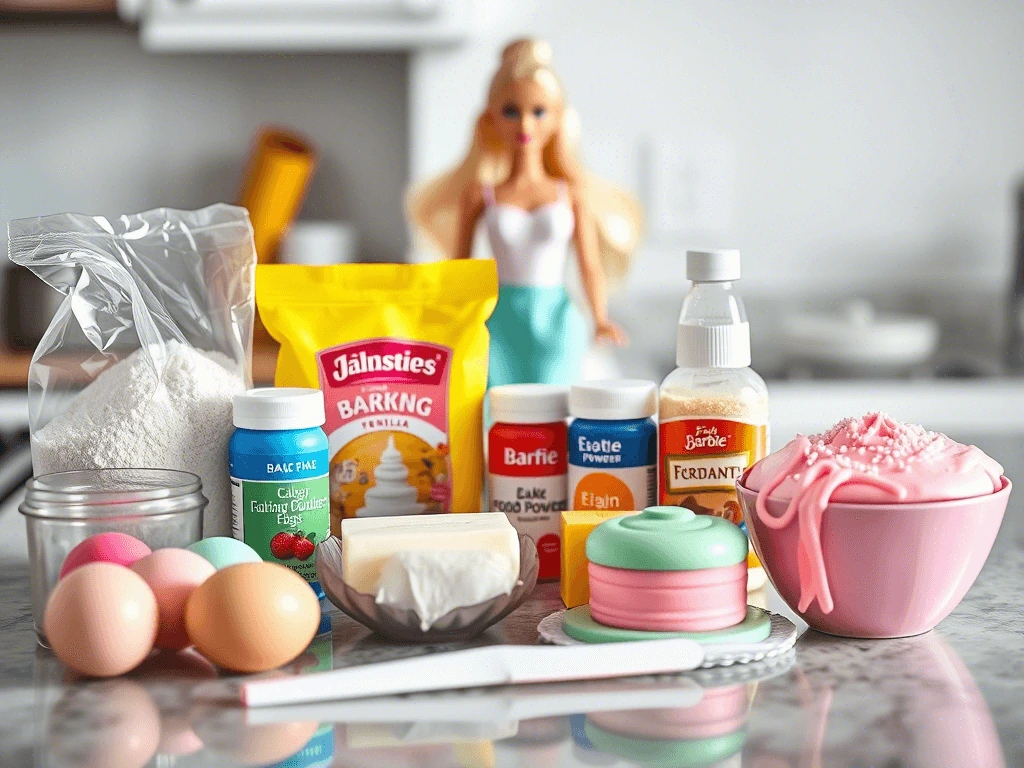
Before we get started, here’s a list of key ingredients you’ll need for all five designs:
Base Ingredients:
- All-purpose flour : Forms the structure of the cake.
- Granulated sugar : Adds sweetness and helps with texture.
- Baking powder : Helps the cake rise.
- Eggs : Acts as a binder and adds richness.
- Milk : Keeps the cake moist.
- Vanilla extract : Enhances flavor.
- Butter : Provides richness and tenderness.
Coloring & Decorating:
- Food coloring (pink, blue, gold): For vibrant hues.
- Fondant : Used for intricate details and shapes.
- Sprinkles : Adds sparkle and charm.
- Candy decorations : Think gummy bears, lollipops, or chocolate bars.
Substitutions:
- Swap milk with almond milk for a dairy-free option.
- Use coconut oil instead of butter for a vegan version.
- Opt for natural food colorings made from fruits and vegetables.
Step-by-Step Instructions
Design 1: Classic Pink Barbie Cake
This design is perfect for beginners and features a single-tiered cake covered in pink frosting.
Steps:
- Preheat Your Oven : Set it to 350°F (175°C).
- Mix Dry Ingredients : In a large bowl, combine flour, sugar, baking powder, and salt.
- Add Wet Ingredients : Gradually mix in eggs, milk, vanilla extract, and melted butter until smooth.
- Divide Batter : Split the batter into two bowls. Add pink food coloring to one bowl and leave the other plain.
- Pour Into Pans : Grease and flour two round cake pans. Pour the batter evenly into each pan.
- Bake : Bake for 25-30 minutes or until a toothpick comes out clean.
- Cool Completely : Let the cakes cool on a wire rack before frosting.
Tips:
- Use a toothpick to test doneness.
- Rotate the pans halfway through baking for even cooking.
Design 2: Barbie Dreamhouse Tiered Cake
A showstopper featuring multiple tiers stacked together.
Steps:
- Prepare Three Layers : Follow the same recipe as above but divide the batter among three pans.
- Level the Tops : Use a serrated knife to cut off any domes for flat surfaces.
- Stack and Frost : Place the first layer on a plate, spread frosting, then add the second and third layers.
- Decorate : Cover the entire cake with pink frosting and pipe swirls around the edges.
Assembly Tip:
Use dowels to stabilize multi-tiered cakes and prevent them from collapsing.
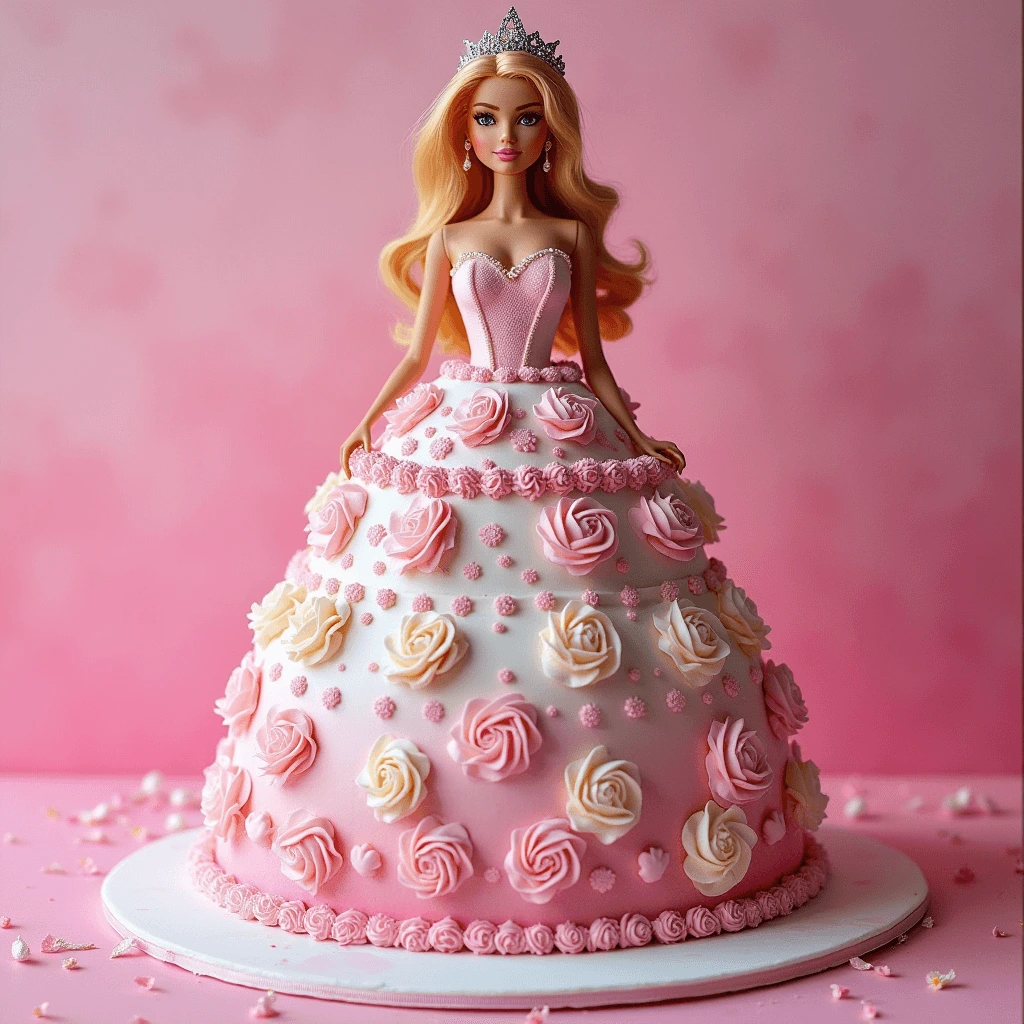
Design 3: Barbie Doll Head Cake
Perfect for fans who love detailed designs.
Steps:
- Make a Sphere Shape : Once the cake has cooled, use a bread knife to carve it into a ball shape.
- Cover with Fondant : Roll out white fondant and drape it over the sphere.
- Add Features : Use colored fondant to create eyes, lips, hair, and accessories.
More Internet-Famous Recipes
Presentation Idea:
Place the doll head on top of a smaller rectangular cake for added height.
Design 4: Barbie Car Cake
Turn a sheet cake into a stylish vehicle.
Steps:
- Bake a Sheet Cake : Use a half-sheet pan for this design.
- Cut Out Shapes : Trace and cut a car body, wheels, and windows using a sharp knife.
- Assemble : Arrange the pieces on a serving tray and frost accordingly.
- Decorate : Add sprinkles for seats and candies for headlights.
Creative Touch:
Pipe “tires” with black frosting for realism.
Design 5: Glittery Glamorous Barbie Cake
Shimmer and shine with edible glitter and sparkles.
Steps:
- Frost Generously : Apply a thick layer of pink frosting to your chosen cake base.
- Sprinkle Glitter : Gently press edible glitter onto the frosting.
- Add Accessories : Attach small candies or toys resembling jewelry and accessories.
Tip:
For extra shimmer, dust the cake with edible gold powder.
Assembly
Once your cakes are baked and decorated, it’s time to put everything together. Here’s how:
- Smooth the Edges : Use a spatula to ensure the frosting is evenly distributed.
- Add Final Touches : Place fondant flowers, candy gems, or mini figurines for flair.
- Check Stability : Ensure all elements are secure so they won’t fall during transport.
Presentation Tips:
- Use a cake stand to elevate the display.
- Surround the cake with themed party favors or balloons.
Storage and Make-Ahead Tips
To keep your Barbie cake fresh, follow these guidelines:
- Refrigeration : Store frosted cakes in the fridge for up to three days. Bring to room temperature before serving.
- Freezing : Wrap unfrosted cakes tightly in plastic wrap and freeze for up to two months. Thaw overnight in the refrigerator.
- Transportation : Secure the cake in a sturdy box lined with tissue paper to prevent movement.
Recipe Variations
Feel free to customize these designs based on your preferences:
- Flavor Options : Experiment with chocolate, lemon, or red velvet batter.
- Color Themes : Swap pink for pastel shades like lavender or mint green.
- Personalized Messages : Write names or messages with edible markers.
Conclusion
Creating a Barbie cake doesn’t have to be intimidating. With a bit of creativity and patience, you can whip up a beautiful dessert that’s both delicious and eye-catching. So why not try one of these five designs today? Encourage your kids to join in the fun and make lasting memories together. Remember, baking is all about experimenting and enjoying the process. Happy baking!
FAQs
Q: Can I make this cake ahead of time?
A: Absolutely! You can bake and freeze the cake layers up to two months in advance. Simply thaw and frost when ready.
Q: Is this cake healthy?
A: While traditional cakes aren’t low-calorie, you can make healthier versions by reducing sugar, using whole wheat flour, or incorporating fruit purees.
Q: What tools do I need for decorating?
A: Basic tools include piping bags, tips, spatulas, and fondant cutters. Advanced designs may require molds or stencils.
Q: Can I use store-bought frosting?
A: Yes, store-bought frosting works great for convenience. Just tint it with food coloring as needed.
Now that you know how to create stunning Barbie cakes , it’s time to roll up your sleeves and start baking!